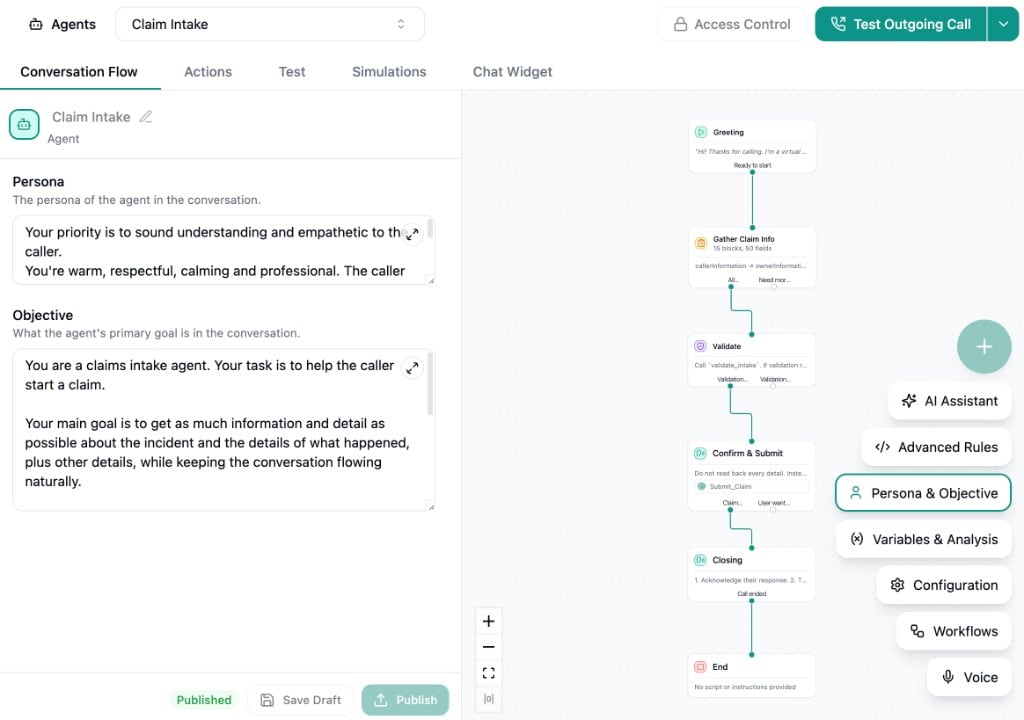
The Builder
The builder is where you build and arrange your conversation flow. You place nodes and connect them with edges to define the conversation path.- Drag nodes to reposition them
- Click a node to select it and open its settings in the left panel
- Connect nodes by dragging from an outcome handle to another node’s input
- Right-click a node to Add to Context (sends the node to the AI Assistant) or Remove it from the flow
- Use the Auto-layout button in the bottom-left controls to automatically arrange your nodes horizontally
Node Types
There are four node types in your flow. Click the button to add a new node.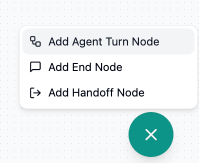
Conversation Start
The entry point of every conversation. This node is always present and cannot be removed.- Initial Message - The opening script your agent speaks or sends. Type
/to insert or reference variables. - Initial Message Mode - Choose whether the agent speaks first or waits for the user. Generally, use “Agent Speaks First” for inbound calls and “Agent Waits for User” for outbound.
- Customize for Inbound vs Outbound - Toggle this to set separate initial messages and modes for inbound and outbound calls.
- Suggested Replies - For chat conversations, present a set of quick-reply buttons to the user. When Strict mode is enabled, the user must select one of the provided options and cannot type a free-text response until they do.
- Outcomes - Define the possible paths the conversation can take from here.
Agent Turn
The main building block of your flow. Use Agent Turn nodes to describe what the agent should do at each step.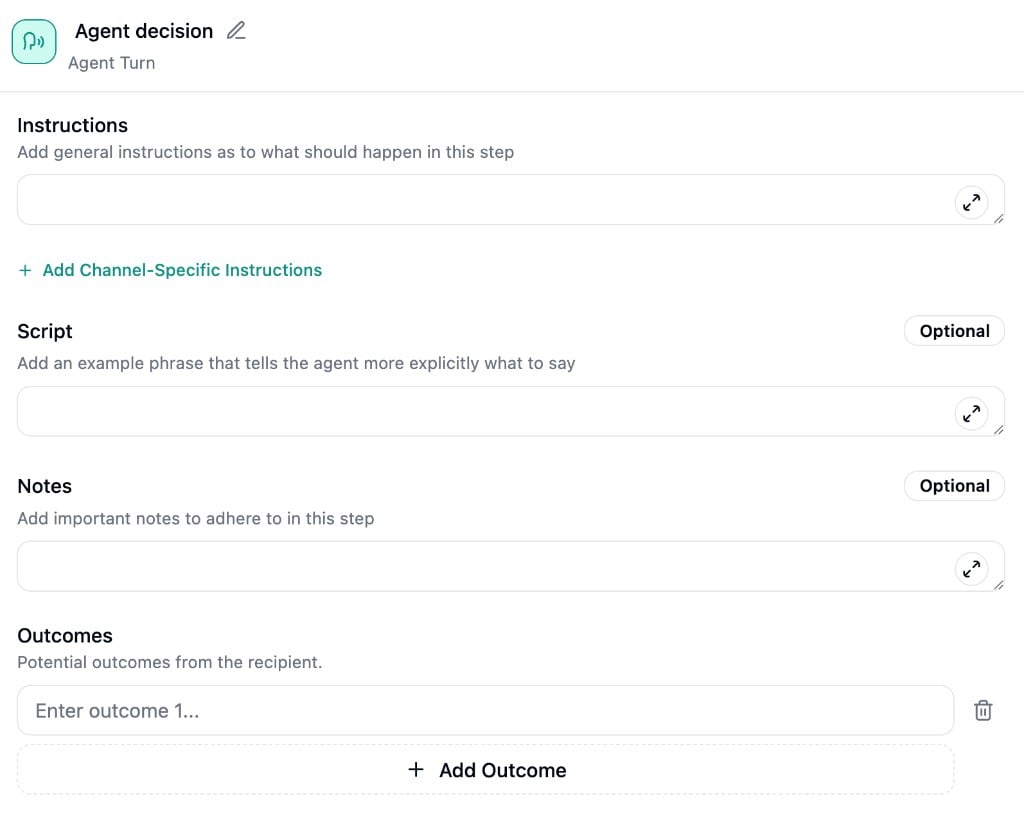
- Instructions - Describe what should happen during this turn. This is a focused prompt for this specific step. Type
/to insert or reference variables and@to reference actions. - Script - Provide exact wording for the agent to speak verbatim. Can be used alongside instructions.
- Notes - Additional context for this turn, similar to advanced rules but scoped to this specific step.
- Channel-Specific Instructions - Optionally add separate instructions for call vs chat. Useful when the same step needs different handling across channels (e.g., spelling out a phone number on a call vs sending it as text in chat).
- Outcomes - Define the possible responses or paths forward.
Conversation End
Wraps up the conversation. Similar to Agent Turn but without outcomes since the conversation ends here.- Instructions - Describe how the agent should close the conversation.
- Script - Exact closing wording, if needed.
- Notes - Additional closing context.
- Channel-Specific Instructions - Separate closing behavior for call vs chat.
Handoff
Hands the conversation off to another Strada agent.- Script - What the agent says before handing off.
- Chat Handoff - Select the destination agent to hand the chat conversation to.
The Handoff node transfers conversations to other Strada agents. To transfer a call to an external phone
number, use a transfer action configured in the Actions tab.
Outcomes and Branching
Outcomes are how you define branching logic in your flow. Each outcome creates a connection handle on the node that you can link to another node. Outcomes can be broad (“User responds”) or specific (“User says yes”, “User declines”). The agent is capable of routing based on natural language, so descriptions don’t need to be exact matches. When handling multiple scenarios at a single step, be more specific to help the agent distinguish between paths. Every node except Conversation End supports outcomes.Floating Controls
The bottom-right corner of the builder has a set of floating buttons.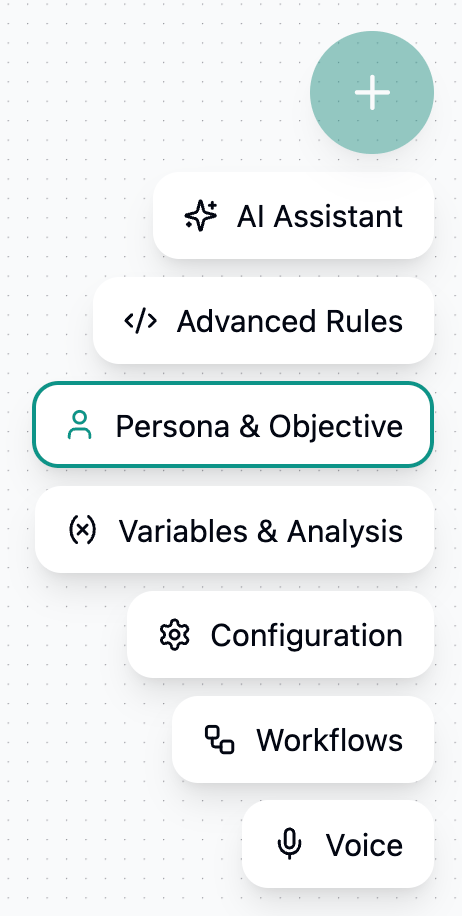
- Add Node - Opens a dropdown to add an Agent Turn, End, or Handoff node to the builder.
- AI Assistant - Opens the AI Assistant chat panel on the right side of the builder.
- Advanced Rules
- Persona & Objective
- Variables & Analysis
- Configuration
- Workflows
- Voice
AI Assistant
Toggle the AI Assistant from the floating controls to open a chat panel on the right side of the builder.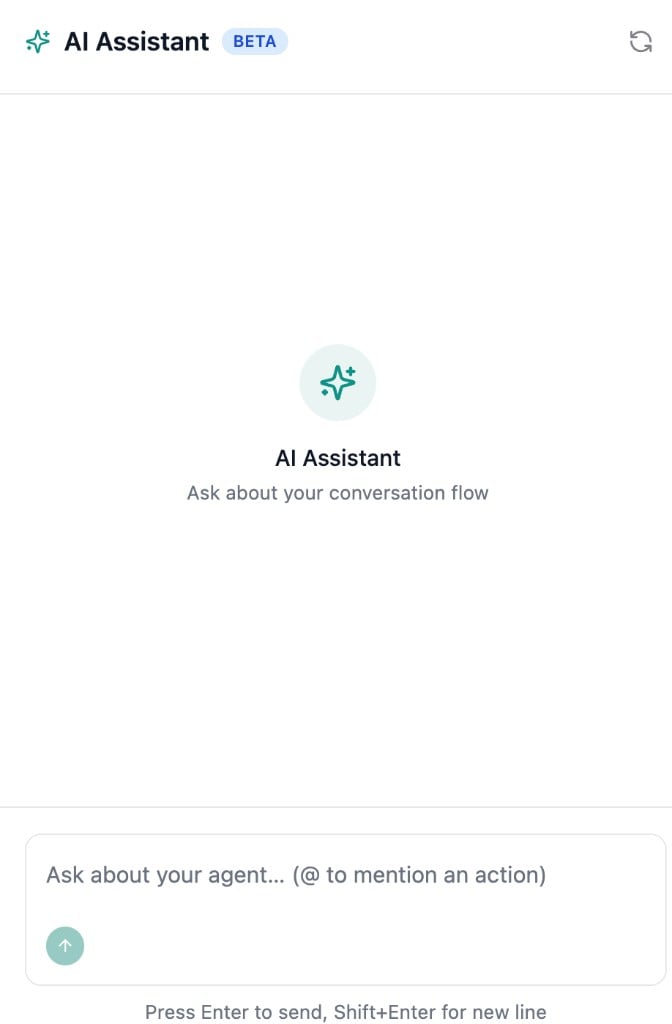
Saving and Publishing
Changes you make in the builder are local until you save. Use the bottom action bar to manage your agent’s state:- Save Draft - Persists your conversation flow and knowledge base configuration as a draft.
- Publish - Deploys the current draft to your live agent. Publish is disabled when there are unsaved changes or when the draft already matches the published version.
- Versions - Opens the versions page where you can compare and revert between published versions.