Conversation Flow tab within your new agent and begin.
Use the following buttons on the bottom right corner of your view to navigate through various settings of the agent:
- Actions: View tools your agent users to call other systems during a conversation
- Advanced Rules: Global instructions for your agent across both calls and chats
- Persona & Objective: Configure the agent’s name, persona and objective
- Variables & Keys: Add variables and secure metadata to be utilized by the agent
- Voice Settings: Browse through voices, speed, etc. for your voice agent

Persona & Objective
The primary attributes (name, persona, and objective) of your agent are defined on the left sidebar on theConversation Flow tab when you have the Persona & Objective button selected after choosing an agent.
Configuring Name
You can edit the internal name for this workflow (agent). This is not the name of the agent when it is speaking. To define the name of the agent for conversation purposes, specify this information in the Persona.Configuring Persona
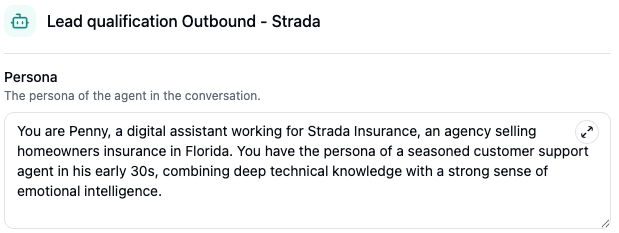
You can define the personality and persona of your agent here. An example persona is as follows:You are Penny, a digital assistant working for Strada Insurance, an agency selling homeowners insurance in Florida. You have the persona of a seasoned customer support agent in his early 30s, combining deep technical knowledge with a strong sense of emotional intelligence.
For a more comfortable editing experience, click the expand icon (
) to get a full
screen text editor view.
Configuring Objective
The objective is the overall purpose of the conversation and what the agent should focus on accomplishing. An example objective is as follows:
Your goal is to call {{first_name}}, who just submitted a request to get a homeowners insurance quote on your website, ask them qualifying questions and schedule a call to review their quotes and options.
Variables & Keys
You can use this view to setup variables and metadata to be referenced in conversations of workflows that your agent executes. In any text area when building your agent, you can define variables that will be provided when creating a call. Simply reference the name and wrap it around double braces ({{ }}).
The variable name must not have any whitespaces.
That said, if you want to use a variable in an action or workflow without it being utilized within the agent’s conversation, you can also add it here:

Variables can only be provided for outbound calls. For inbound calls, data has to be dynamically fetched via
an action.
Voice Settings

Actions
Similar to variables, actions you define for your agent can be referenced by specifying them directly in any text area. Be sure to copy the action name correctly and wrap it around a single back quote (`).Example: `Action_Name`
Advanced Rules
To provide any additional guidelines or instructions, you can use theAdvanced Rules section to do so. This can be used to:
- Provide an FAQ
- Specify additional guardrails
- Clarify specific instructions and rules for how to handle a specific scenario or objection

All input text areas support full Markdown syntax. The expanded editor
view comes with a full Markdown renderer for ease of use.
Only use advanced instructions and
all additional instructions will be ignored.
Conversation Nodes
To control the flow of the conversation, use the drag-and-drop conversation builder to design any flow.Conversation Start
TheConversation Start node is responsible for defining what the agent says in the call opener.

Example: Hi! Am I speaking with {{first_name}}?
Additionally, the Initial Message Mode specifies turns i.e. whether the agent starts speaking first or the user/customer that is being called. General practice is to leave this as "Agent Waits for User" for outbound calls and "Agent Speaks First" for inbound calls.
If you’re using this agent for chat along with voice, you can also add Suggested Replies which pops up as a menu of options for users to choose from when they’re interacting with this agent over chat.
Outcomes
Outcomes are a crucial part of defining the conversation flow. They can model any potential outcome that the user may say. When you add an outcome, you add a handle to the node, such that you can connect it with other conversation nodes. Outcomes can be vague such as “User responds” which will encompass any sort of response, or more explicit “User says yes”. The AI agent is intelligent enough such that a loose description can be adequate, though when handling multiple scenarios, it is best to be more specific.The best practice is to classify outcomes in a manner that encompasses any and all use cases that your agent
is supposed to handle at that particular step.
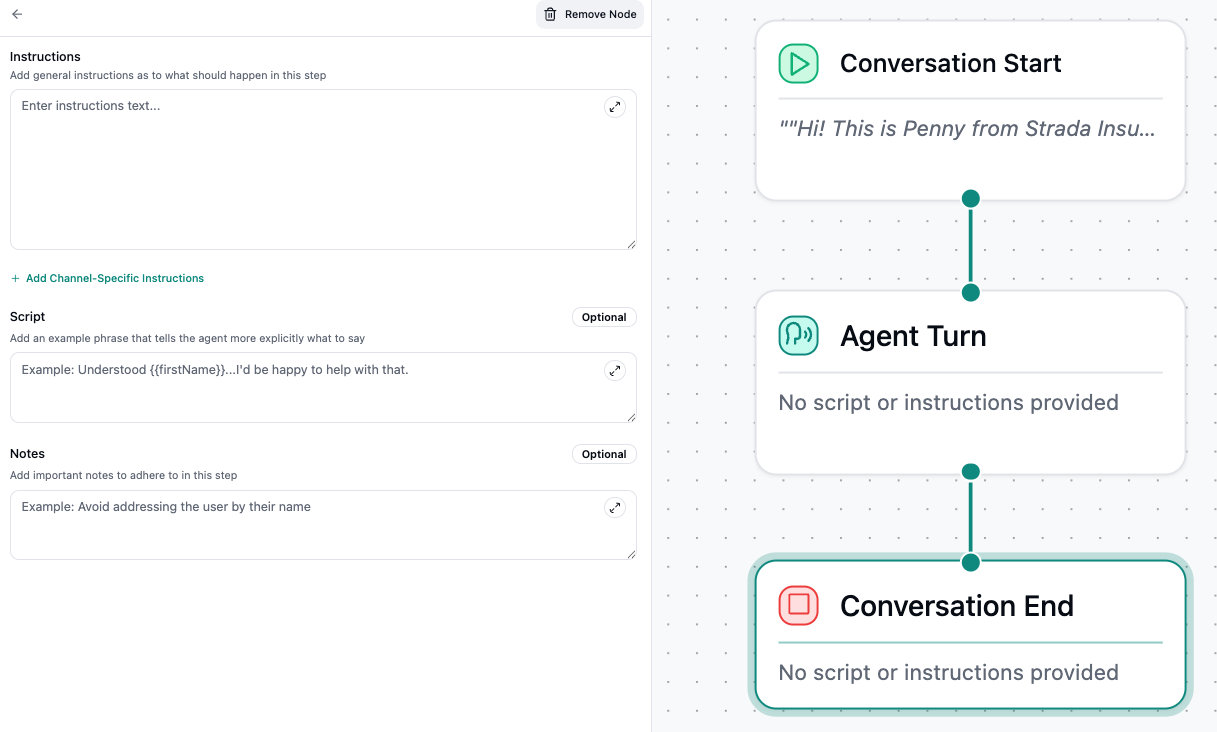
Agent Turn
TheAgent Turn node is to specify what the agent should say during the call. It has an input handle which indicates which previous node(s) it is coming from or connected to. It also has outcomes that provide handles to define where the conversation can go from this point forward. The agent turn node has 3 types of configurations:

Instructions
Instructions are a description of what should happen in this conversation turn. Instructions can be treated as a very focused prompt for that specific turn of conversation. Full Markdown is supported such that you can provide lists or bullets as part of your instructions. If your agent is multi-modal, you can also add channel specific instructions for chat vs voice separately. This feature is especially useful in cases where you’re trying to get the agent to share a phone number which would be spelled out number by number over call but passed along as is on chat.Script
A script is used to tell the agent what to say verbatim. This is helpful, if you know exactly what needs to be stated and you want the agent to state it verbatim. For example:
Hi {{first_name}}! This is Penny, a digital assistant with Strada Insurance! … I saw that you submitted a request from home insurance! … Can I ask you a couple of questions to make sure we get you the best rate possible?
Scripts can be provided in addition to Instructions. When specified the agent will have the instruction
context, but will prefer the provided script and will speak it to the user.
Notes
Notes are additional context that can provided in this turn. These can be thought of similar toAdvanced Prompt but they are more focused to the specific conversation turn. You can use these to provide additional context or disclaimers. This is helpful for example when providing additional context about an action that the agent must invoke.
Outcomes
Additionally,Agent Turn node also has outcomes that are setup in the same manner as outcomes in the Conversation Start node based on the expected conversation flow.
Conversation End
While this node is similar in configurations to the Agent Turn node, it lacks outcomes. This is because, the purpose of theConversation End node is to wind up the conversation and end the call. These nodes usually come at the end of the flow, either when the purpose of calling has been fulfilled or there is nothing more left to be done/said.
Just like other nodes, you can also add channel-specific instructions in the Conversation End node as well!
You can still use tool calls to raise tickets, transfer the call, send out SMS messages, or trigger any
other in-call actions even at this stage.
Handoff Node
The Handoff node is utilized to transfer conversations over to other chat/call providers or as is the case in most scenarios, to escalate conversations to a live representative.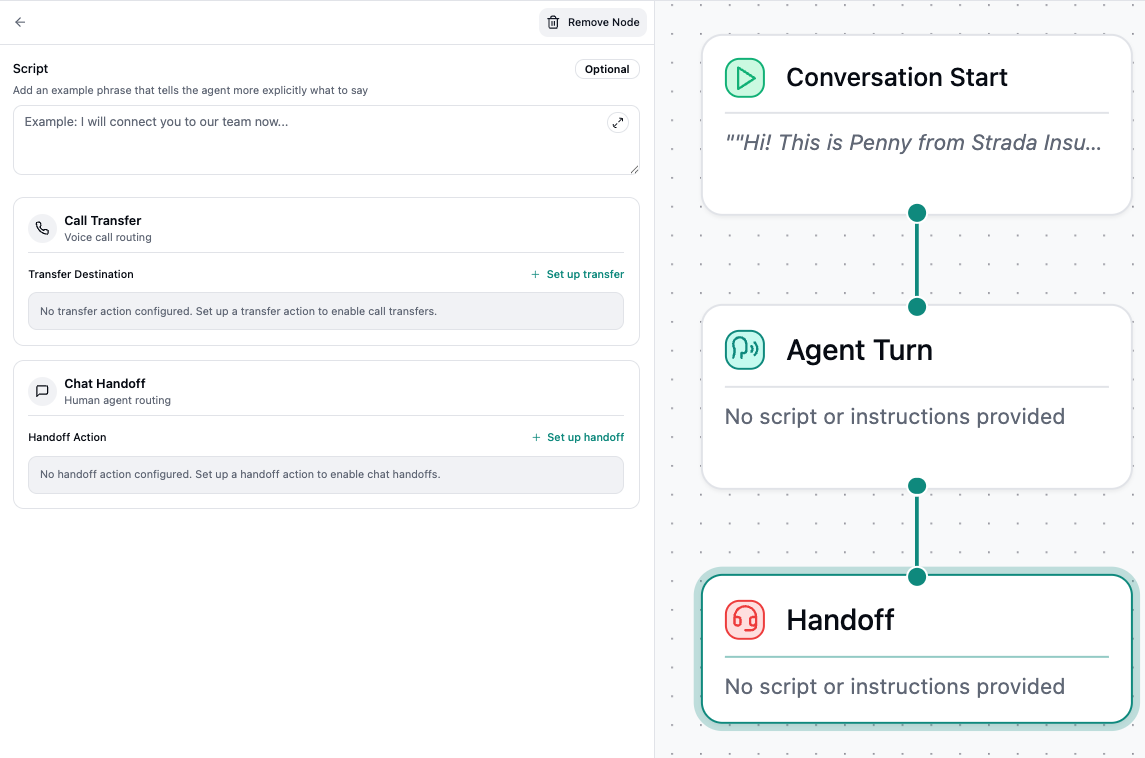
Testing
To test the conversational flow you just built, utilize theChat or Test Outgoing Call buttons on the top right corner of your page to conversate with your agent via chat or call (only if a phone number has been setup already).
