

Creating a Workflow
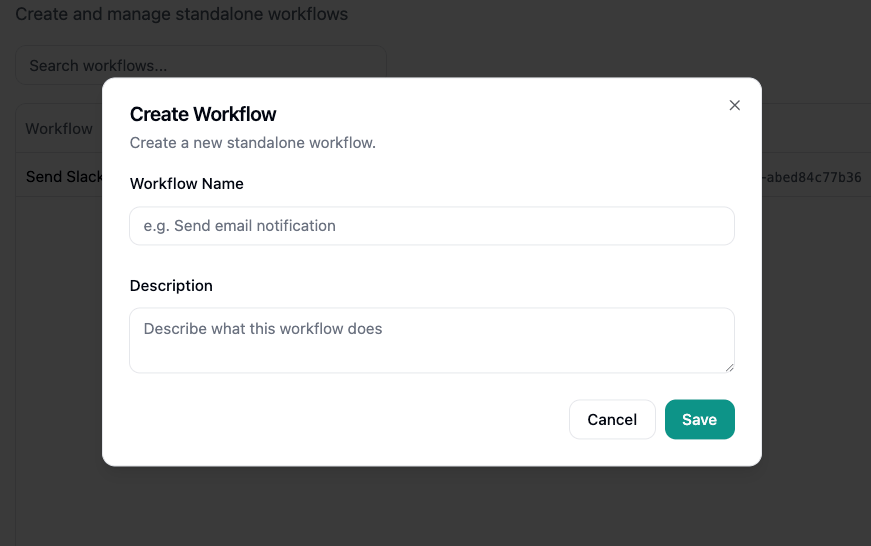
From Workflows, click New Workflow and fill in the Create Workflow dialog:- Workflow Name - A name to identify the workflow.
- Description - A short summary of what the workflow does.
Building the Workflow
Click a workflow to open the builder. These workflows use the same visual builder as the rest of the platform, so refer to the workflow builder for how to add and configure nodes, and the Node Reference for the full node catalog.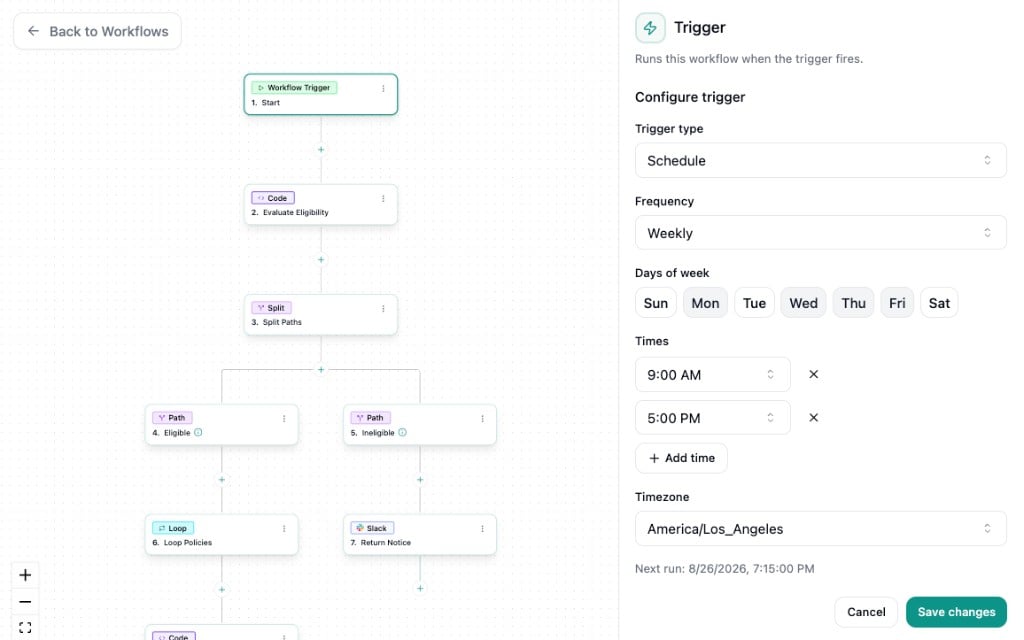
- Publish Workflow - Makes the current version live. A workflow only runs after it has been published.
- Undo Changes - Discards unpublished changes and restores the last published version.
Configuring the Trigger
Click the first node in the builder to open the Trigger panel. A trigger determines when the workflow runs. Choose a Trigger type:Webhook
The workflow runs when an external system sends a request to its webhook.- Webhook URL - The address to send requests to. It’s generated when you save, and you can copy it with the button.
- Expected input (JSON) - A sample of the JSON object you plan to send. This describes the shape of your data so you can reference its fields in the builder. It must be a JSON object.
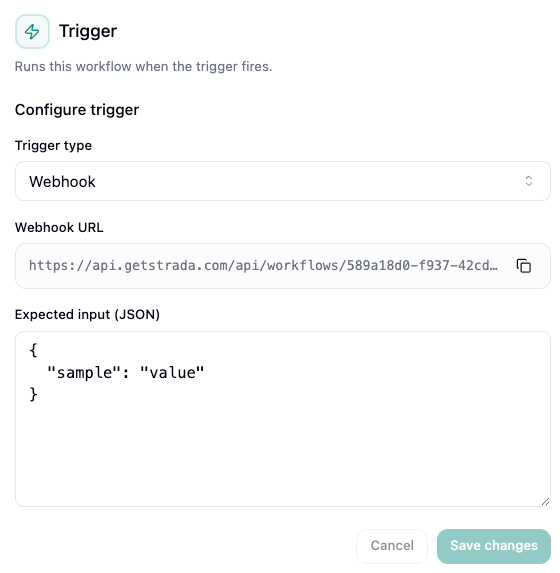
Expected input describes the shape of your data for the builder. It isn’t enforced on incoming requests. If a
request leaves out a field, that value is simply empty in the run.
Schedule
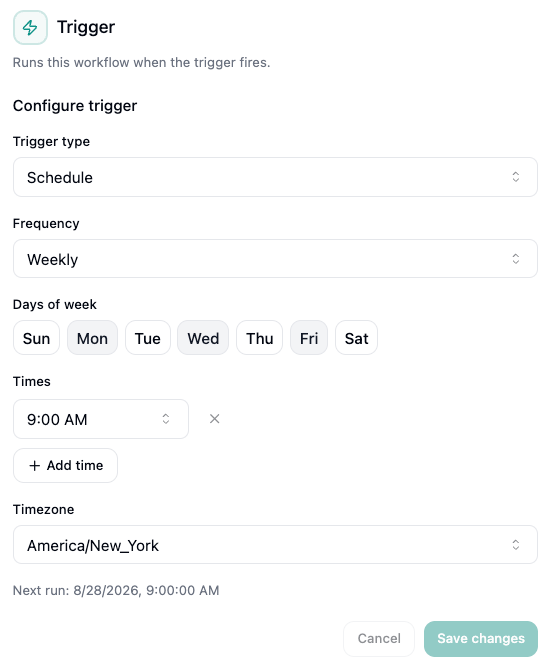
The workflow runs automatically on a recurring schedule.- Frequency - How often the workflow runs: Interval, Daily, Weekly, or Monthly.
- Times - The times of day the workflow runs (for Daily, Weekly, and Monthly).
- Days - The days of the week or days of the month to run on (for Weekly and Monthly).
- Timezone - The timezone the schedule is evaluated in.
Using Variables
Every node can reference data available to the workflow. Type/ in any configuration field to open the variable picker and insert a value:
- The fields from your webhook’s Expected input
- Secrets from your organization
- Outputs from earlier nodes in the workflow